Getting started with IndieCloud
- 3 min read

Getting Started with IndieCloud
IndieCloud is designed to simplify hosting for Indie Hackers, small teams, and developers who want to focus on building their product rather than managing infrastructure. In this guide, we’ll walk you through how to get started with IndieCloud, from connecting your GitHub repository to deploying your first app.
Why IndieCloud?
IndieCloud combines the simplicity of platforms like Vercel with the flexibility and cost-effectiveness of a VPS. Whether you’re hosting a frontend, backend, or database, IndieCloud streamlines the process and eliminates the headaches of traditional server management.
Step 1: Sign In to IndieCloud
As always, the first step is to sign in with your account. Visit app.indiecloud.dev and sign in with your GitHub or Google account.
Step 2: Create your project and app
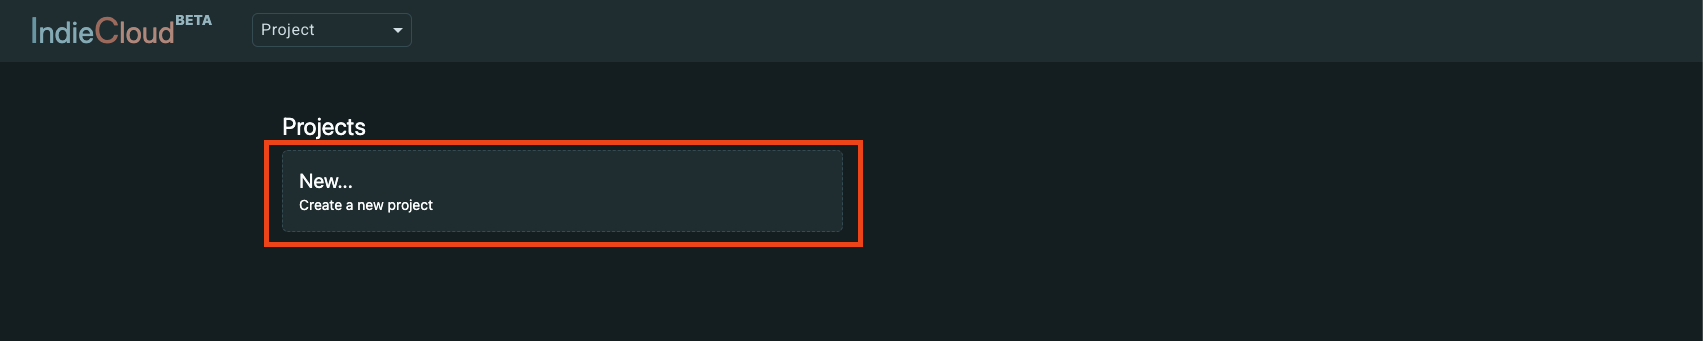
- Click “New…” as shown in the image below to create a new project. A project groups together your apps and databases.
- Enter a name and an optional description for your project and click “Create Project”.

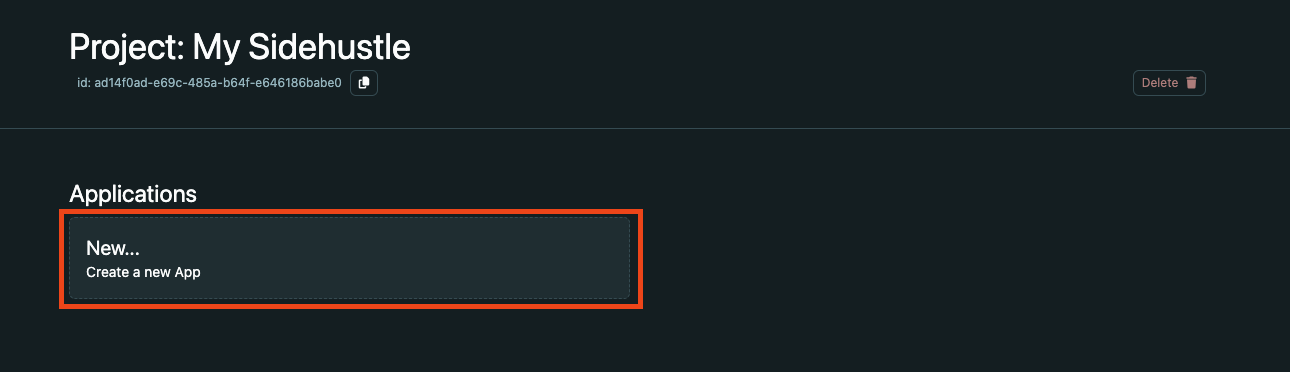
- Click “New…” to create a new app.
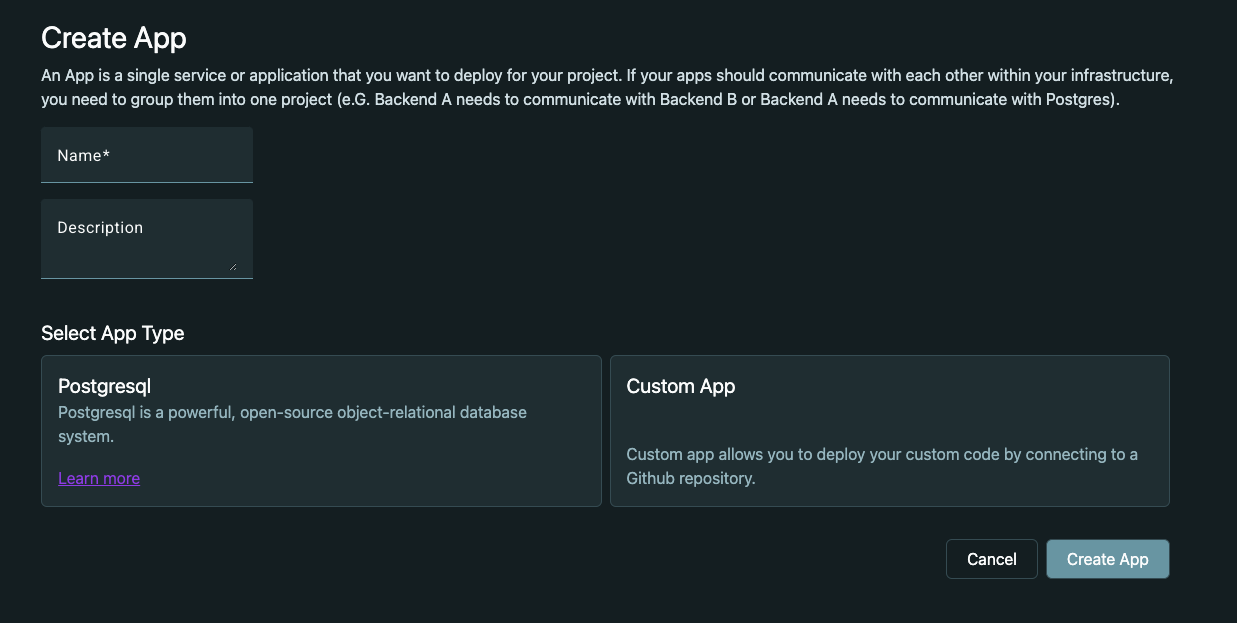
- Enter a name and an optional description for your app, and select what type of App you want to deploy.
- Postgresql: A managed PostgreSQL database.
- Custom App: A custom app that you can deploy from GitHub.
Step 2: Connect Your GitHub Repository
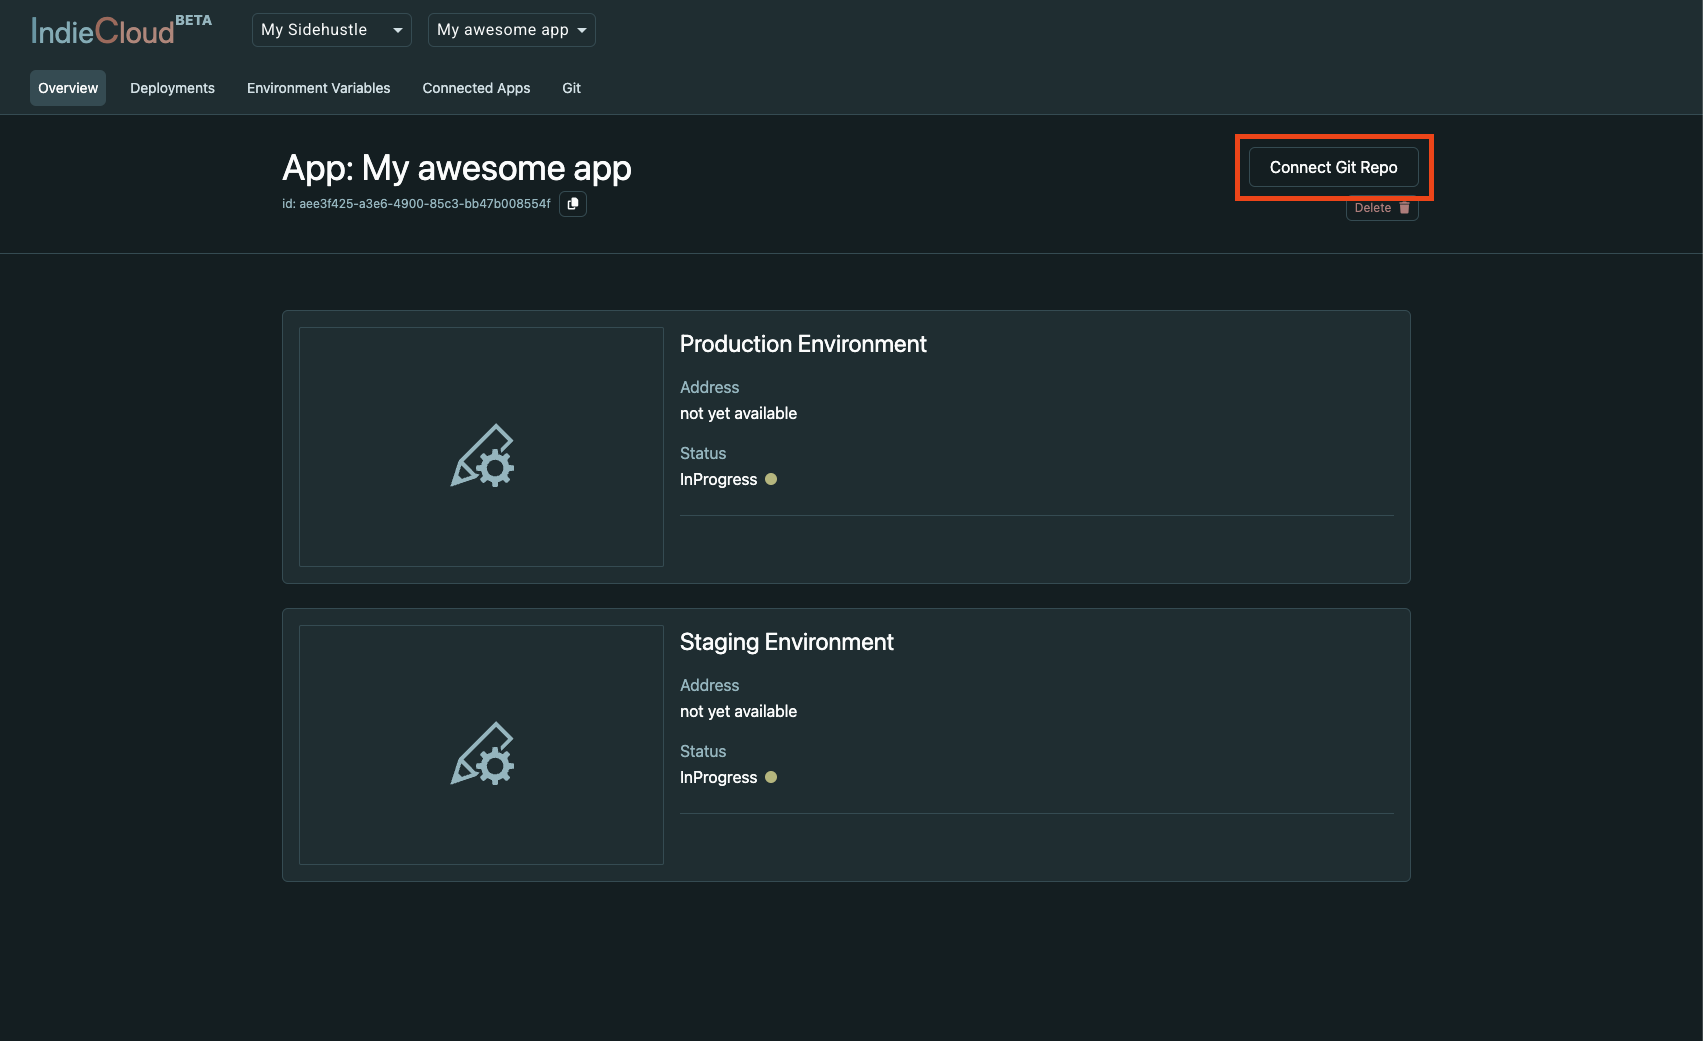
- Click Connect Git Repo to navigate to the Git-Integration page.
- Click Connect Git-Provider to connect the GitHub account.
- After connecting your GitHub-Account, select the repository you want to connect and deploy.
Step 3: Deploy Your App
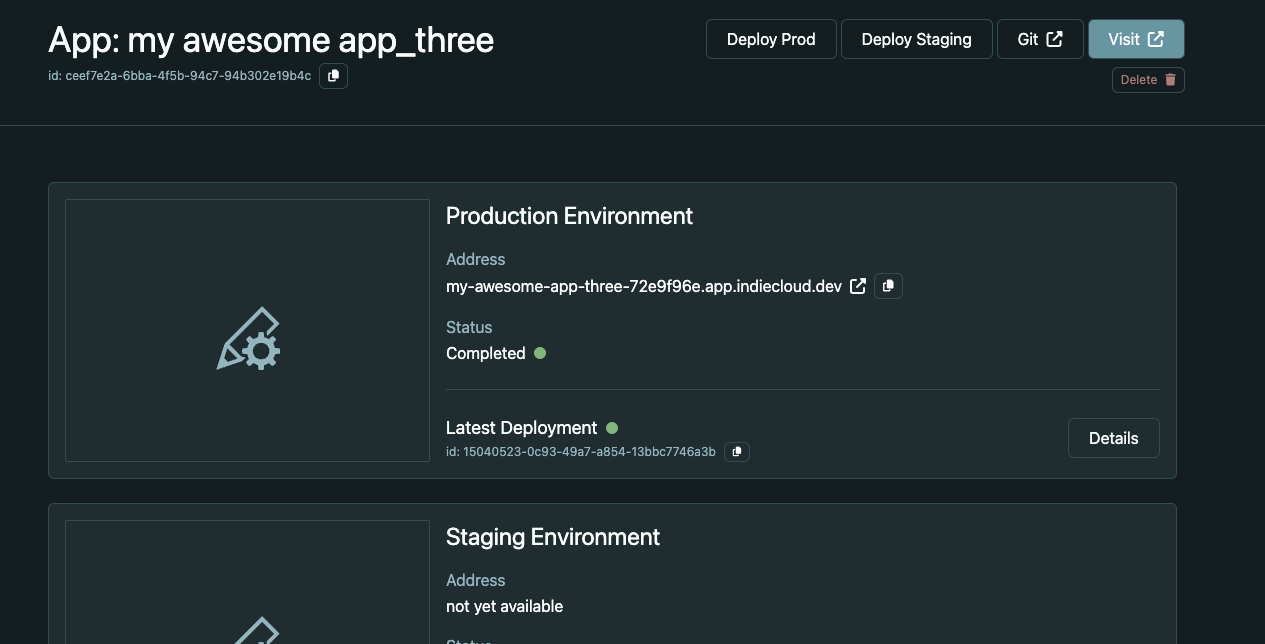
Click “Deploy Prod” to deploy your app to production. You can also deploy to a staging environment by clicking “Deploy Staging”.

You can see the current status of your app on the “Overview” page.
Once the deployment is complete, you can access your app via the provided URL.
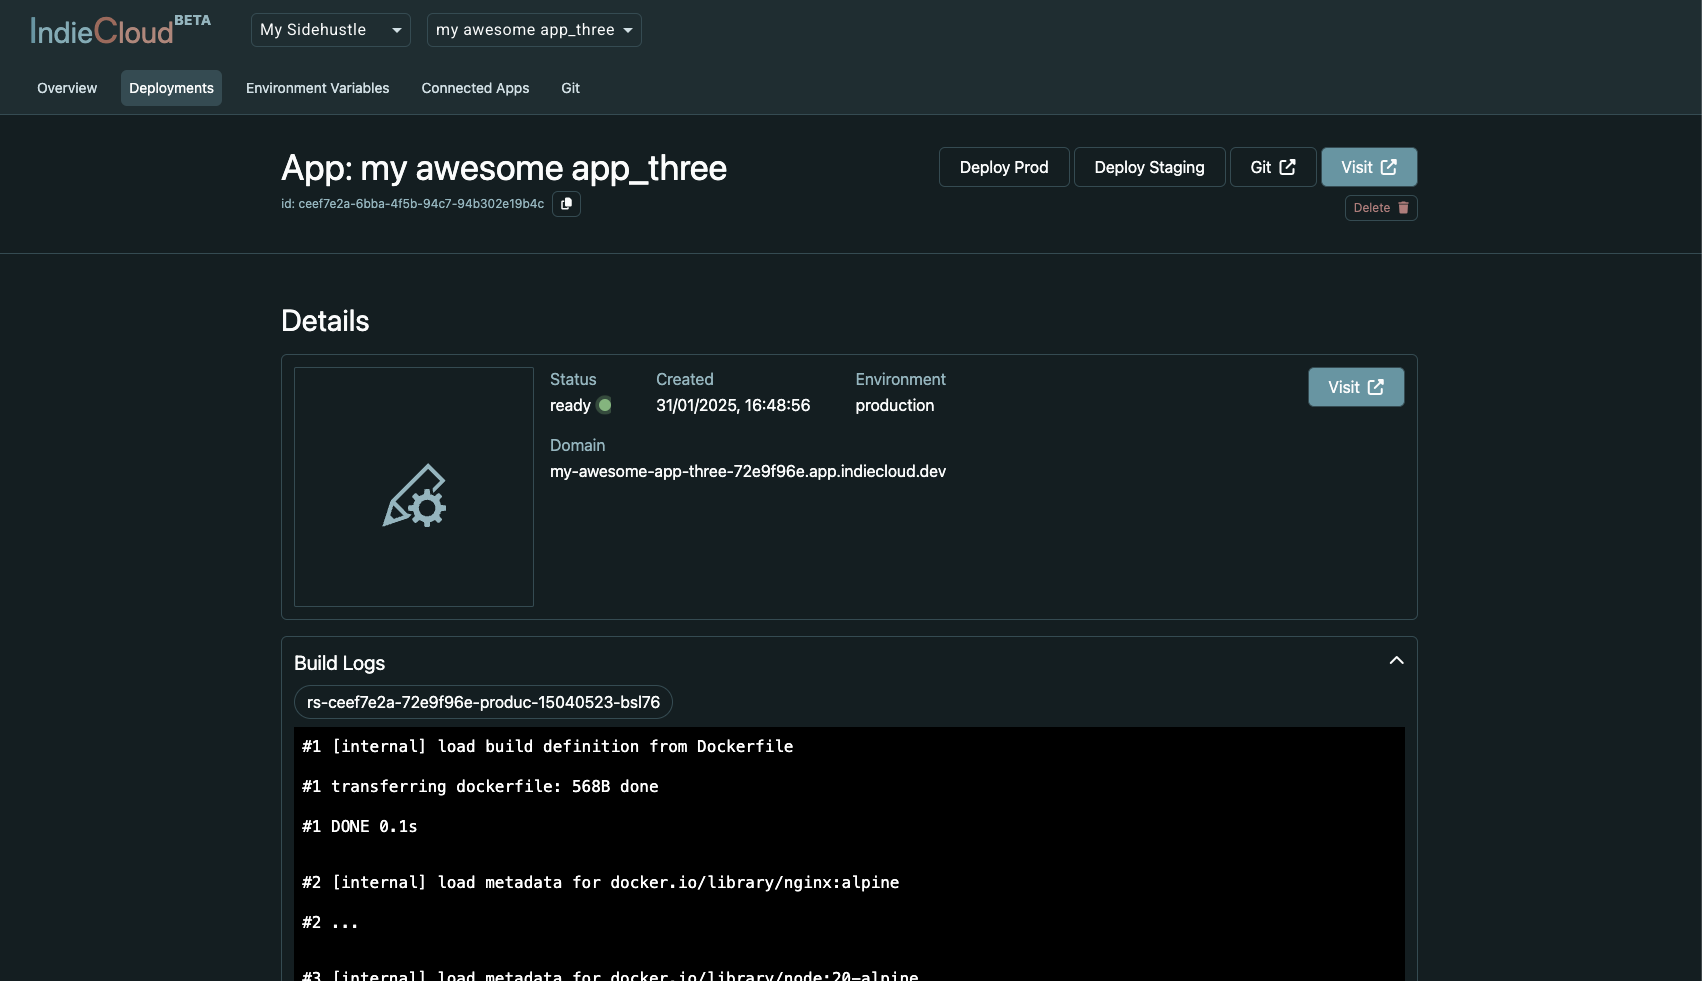
Build, Deployment and Runtime logs can be found on the Deployment-Detail page.
Step 4: Connect a Postgresql (Optional)
If you need a database for e.g. your backend, you can create a new Postgresql instance by doing the Step 2 again and selecting “Postgresql” as the type of app you want to deploy.
- Go back to your backend-app that requires the database via the app-selector at the top.
- Go to “Connected Apps”
- Create a new Connection by selecting the new postgresql database as target-app and click “Create”
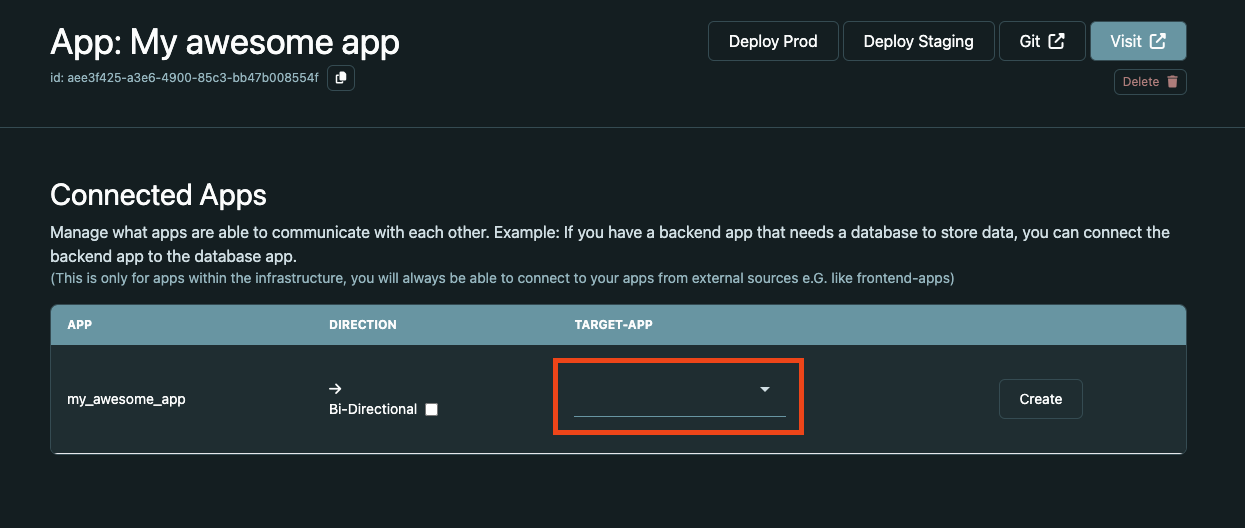
- Click “Deploy Prod” to deploy your app again.
Step 5: Manage Environment Variables (Optional)
You can manage Environment Variables for your app on the “Environment Variables” page.
Done!
Congratulations! You’ve successfully deployed your first app with IndieCloud.
Got problems or questions?
If you have any questions or need help, feel free to reach out to us via email at info@indiecloud.dev (we are working on a more convenient way to get in touch with us).